Course Sections
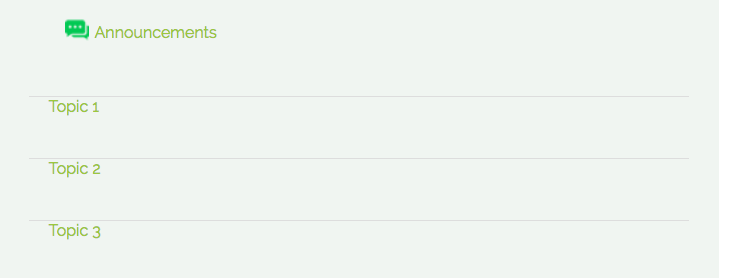
In Moodle, the basic building blocks of courses are called sections. Each section is a horizontal block of content on your course page that can be customized in a variety of ways. If your course is organized in the Weekly Format, each section is titled by date. If your course is organized in the Topics Format, each section is titled by topic.
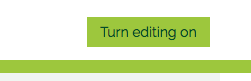
1. Turn Editing On
To make changes to your course, first click "Turn editing on" in the top right corner of the page.
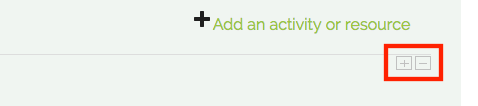
Enabling editing allows you to add, remove, or reposition Activities (forums, assignments, etc.) and Resources (files, links, etc.) on your course. You can add or remove sections by clicking the "+" or "-" buttons just below the last section on the righthand side.
2. Add Resources
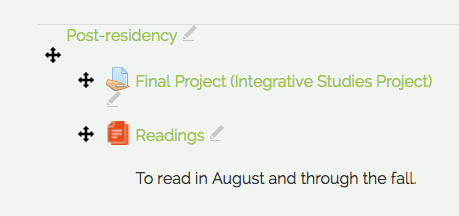
To add a file (such as your syllabus), click the "+ Add an activity or resource" link in the section of your choosing and select "File" under the heading "RESOURCES." Files can be uploaded from your computer, Google Drive, or from your Private Files already in Moodle. Once the resource is on your course page, click its crosshairs and drag/drop to move it to a different part of that section or to another section of your course.
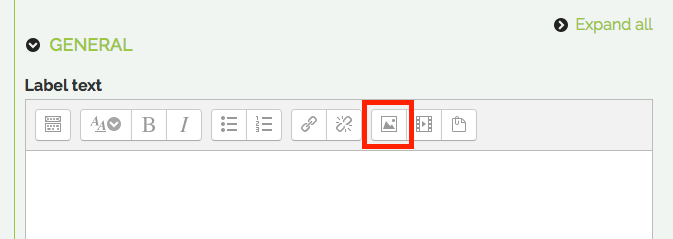
To add an image or text heading, click the "+ Add an activity or resource" link in the section of your choosing and select "Label" under the heading "RESOURCES." In the "Label text" field that appears, you can add any text or headings that you would like to display.
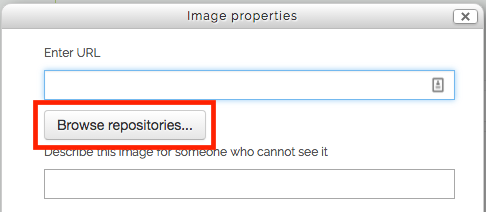
To display an image in-line with any text, click the image button and enter its URL. If the image you want to display cannot be accessed by way of a public link, click the "Browse repositories..." button and select an image to be uploaded from your computer ("Upload a file"), Private Files, Wikimedia, or Google Drive.
If you would rather create links to your course readings (instead of uploading them directly to Moodle), click the "+ Add an activity or resource" link in the section of your choosing and select "URL" under the heading "RESOURCES." Note that URLs can also be added to any other resource or activity type through the text editor.
3. Add Activities
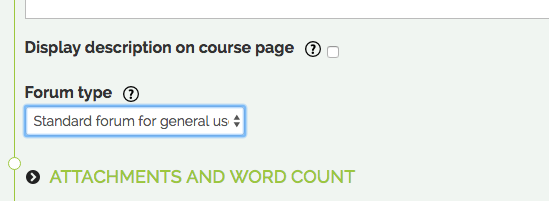
Activities involve interactions between students and faculty. One of the most frequently used activities is the Forum. To add a Forum to your course, click the "+ Add an activity or resource" link in the section of your choosing and select "Forum" under the heading "ACTIVITIES." Give your forum a name, and select the appropriate Forum Type
4. Make Course Visible
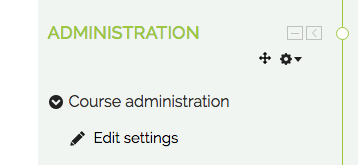
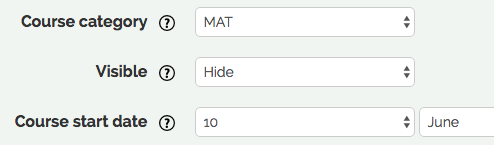
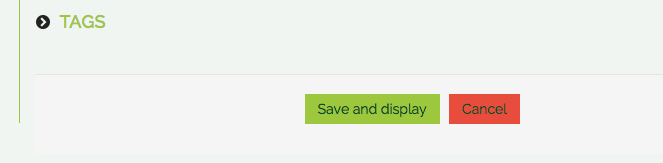
By default, all new courses in Moodle are invisible to students as they are being developed. Once you are satisfied with the activities, resources, and layout of your course, it must be made visible in order for students to have access. Navigate to your course and click "Edit settings" under "Course administration" in the sidebar on the lefthand side of the page. Click the "Visible" dropdown menu, select "Show," and click "Save and display" at the bottom of the page.